
Getting Started with Azure BICEP
Part 1
Blog Introduction
This is going to be the first a few blogs in a series related to Azure BICEP. I will start the journey from the very beginning by showing you how to configure a local environment all the way to automating bicep deployments through multi-stage YAML Pipelines, covering how you can scale your infrastructure quickly and effectively.
In this blog, I will give a brief introduction to Azure BICEP and will also cover the easiest way to configure an environment locally ready to build and deploy your bicep templates.
So what is Azure BICEP?
Azure BICEP is an infrastructure as code language (IAC) which is used to define and provision your Azure Infrastructure. I’m sure all of us at some point tried to start writing IAC by deploying an ARM template exported from a resource already deployed through the portal (it did not work for me!).
In this series, I will show you how to write BICEP templates that not only work but can be used over and over again deploying to different environments.
You might be asking yourself “but I can just deploy this through the portal”, “I don’t know how to code” or “we already have ARM templates for this”.
Rest assured I will start from the very basics and will address all these points through my blogs and convince you (hopefully) BICEP is the way to deploy Infrastructure to Azure!
Getting Started (Configure Local Environment)
To start using BICEP there are some prerequisites that you will need, and I will cover exactly how to get these set up. This blog is assuming you have an Azure Subscription to deploy to, however, you will need the following installed:
- Azure CLI
- Visual Studio Code (with BICEP extension)
Installing Azure CLI
To install the Azure CLI you must navigate to the following link, click here
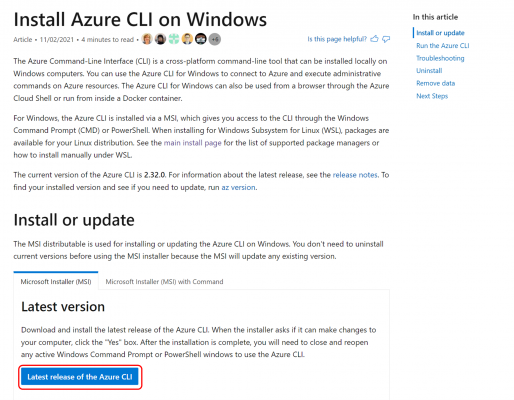
Click on the box highlighted in red “Latest release of Azure CLI”
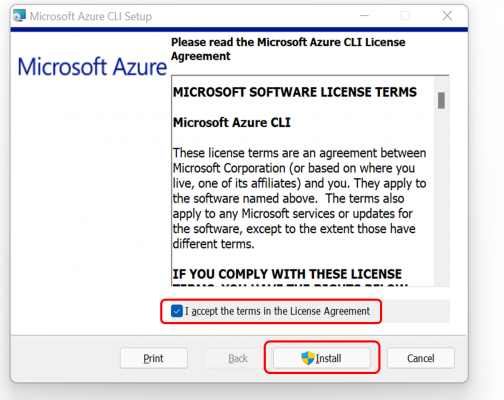
An executable will then download, execute this and follow the steps
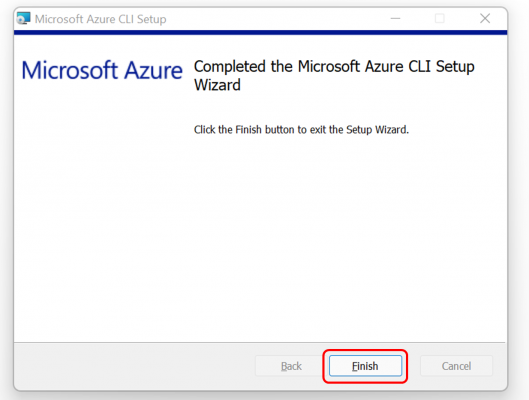
The installation may take a few minutes, click finish when completed.
Installing Visual Code
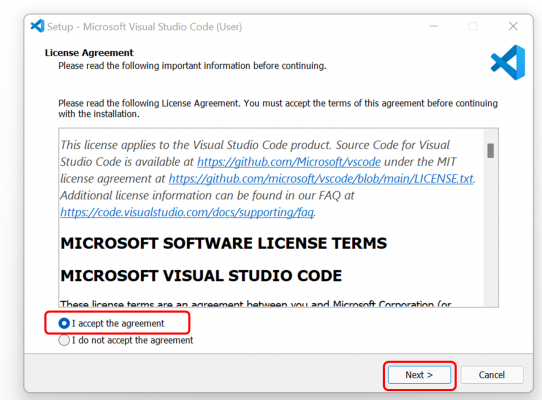
Visual Studio Code (vs Code) is going to be the platform in which we configure our BICEP templates so it is important that this is configured correctly. Click here to download vs Code. Simply follow the installation steps, once completed restart your computer and launch vs Code
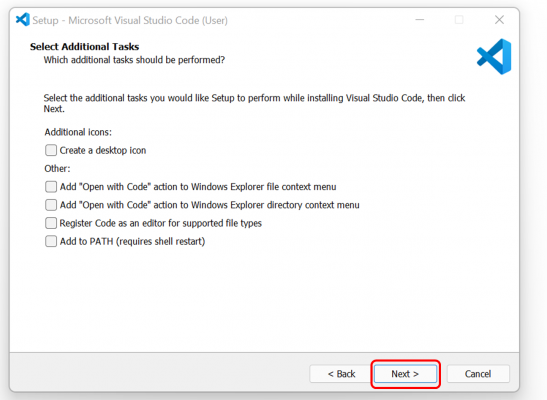
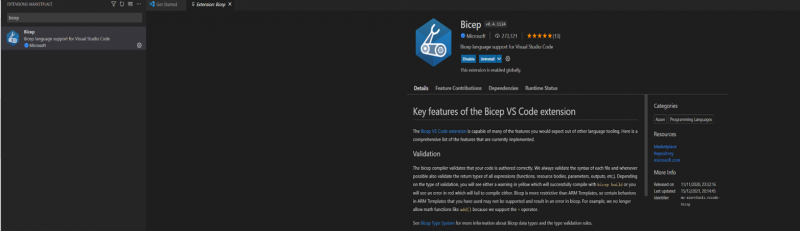
Launch vs Code and press “ctrl, shift and x”, this will bring up the extensions side panel. Search “BICEP” and click install extension.
Setting up BICEP.
Now that the prerequisites have been installed we can get started by setting up BICEP.
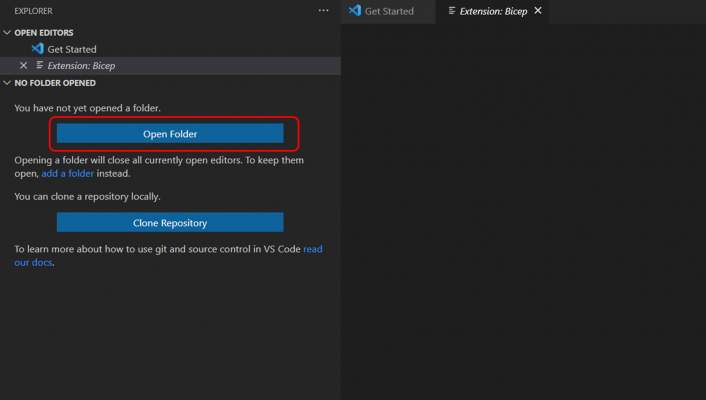
Firstly we want to create a workspace for our templates and for us to do our own development.
In vs code now press “CTRL, shift and E”, this will present the following sidebar select “Open folder”, this will open an Explorer Window.
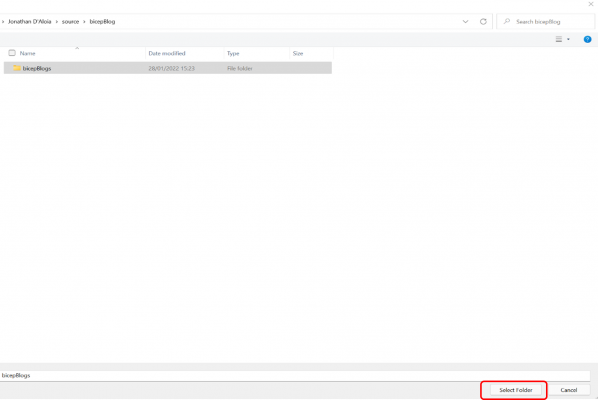
Create a folder of your choice and “select folder” in the bottom right.
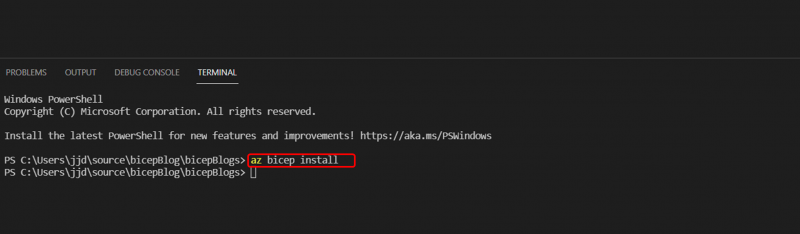
Now that you have a working directory we need to install BICEP through the terminal.
To do this execute “CTRL, shift and ‘ ”, this will bring you a terminal window and in the terminal type the following command “az bicep install”. You should receive a message in the terminal that the installation has been successful.
Your environment is now configured and you are ready to create your first template. This will be covered in part 2 of the series, follow us on LinkedIn to ensure you don’t miss it!
Introduction to Data Wrangler in Microsoft Fabric
What is Data Wrangler? A key selling point of Microsoft Fabric is the Data Science
Jul
Autogen Power BI Model in Tabular Editor
In the realm of business intelligence, Power BI has emerged as a powerful tool for
Jul
Microsoft Healthcare Accelerator for Fabric
Microsoft released the Healthcare Data Solutions in Microsoft Fabric in Q1 2024. It was introduced
Jul
Unlock the Power of Colour: Make Your Power BI Reports Pop
Colour is a powerful visual tool that can enhance the appeal and readability of your
Jul
Python vs. PySpark: Navigating Data Analytics in Databricks – Part 2
Part 2: Exploring Advanced Functionalities in Databricks Welcome back to our Databricks journey! In this
May
GPT-4 with Vision vs Custom Vision in Anomaly Detection
Businesses today are generating data at an unprecedented rate. Automated processing of data is essential
May
Exploring DALL·E Capabilities
What is DALL·E? DALL·E is text-to-image generation system developed by OpenAI using deep learning methodologies.
May
Using Copilot Studio to Develop a HR Policy Bot
The next addition to Microsoft’s generative AI and large language model tools is Microsoft Copilot
Apr