After installing TeamCity to enable Continuous Integration (CI) you will first need to setup a connection to Team Foundation Server (TFS).
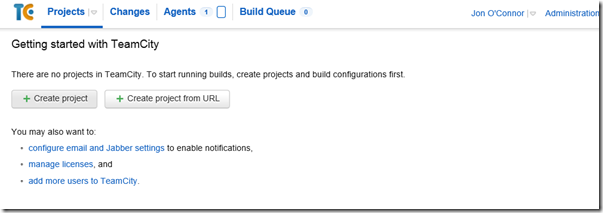
Once completed log into team City using the Administrator account. If this is the first time you have logged in and you have no active projects you will be presented with the screen below.

Select ‘Create Project’ to add a new CI project. Fill in the relevant fields and add a description detailing what the project is.

In order to start building the project you will need to add a build configuration. Once you are familiar with the options available you may also wish to consider creating a template to save setup time when configuring additional projects. For now click ‘Create build configuration’ and add a suitable name and description.
To Connect to TFS you will need to create a new VCS root. Prior to doing this it is advisable to grant the team city service account access to the TFS server, unless for special reasons you wish to use another account for this purpose.
Fill the boxes in as per the below:

Clicking ‘Test Connection’ will check that the settings entered are working correctly. Once you have set this up correctly you should receive the following message:

See the next blog post for how to automate the building and deployment of database projects.
Pareto Charts in Power BI and the DAX behind them
The Pareto principle, commonly referred to as the 80/20 rule, is a concept of prioritisation.
Apr
Databricks: Cluster Configuration
Databricks, a cloud-based platform for data engineering, offers several tools that can be used to
Apr
AI Assistance in Microsoft Fabric
The exponential growth of Large Language Models (LLMs) couples with Microsoft’s close partnership with OpenAI
Apr
10 reasons why it’s worth the effort to understand the value of your data
“If leaders really want to create a data driven culture, the journey starts with them!
Apr
Content Safety in Azure AI Studio
Azure AI Content Safety is a solution designed to identify harmful content, whether generated by
Apr
Model Benchmarks in Azure AI Studio
In the constantly changing field of artificial intelligence (AI) and machine learning (ML), choosing the
Apr
Celebrating International Women’s Day: from Classroom to Code
As we celebrate International Women’s Day, I want to share my journey of breaking stereotypes
Mar
Pretty Power BI – Adding Pagination to Bar Charts
Good User Experience (UX) design is crucial in enabling stakeholders to maximise the insights that
Feb