Microsoft has recently acquired Datazen, a powerful platform for data visualization. From the presentation to video demonstration it seems to be a very powerful tool that it is worth investigating.
As an environment for my Datazen installation I used an Azure Windows Server VM (configured with an HTTP endpoint) as the host and Azure SQL server (with AdventureWorks2012 – MS provides a guide on how to load adventureworks on Azure) as a data connection.
The installation of Datazen is pretty straightforward. The enterprise edition can be downloaded from here and the setup will guide you through the installation process.
For the purpose of this example I left the default settings:
– Run core services as local system
– Default authentication mode
– Run data acquisition service as local system
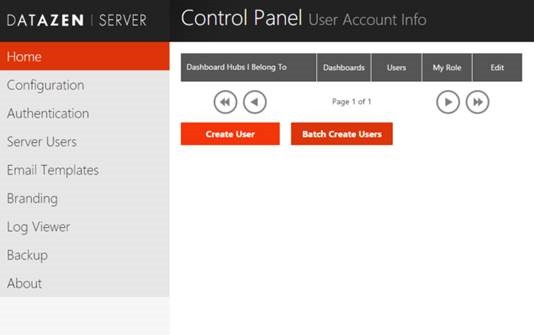
Once Datazen Enterprise Server is installed the first port of call is the Control Panel.
The control panel can be accessed with the URL chosen during the installation, in my case: cloudServiceName.cloudapp.net/cp. You can also access it through localhost/cp.
1) CREATING USERS
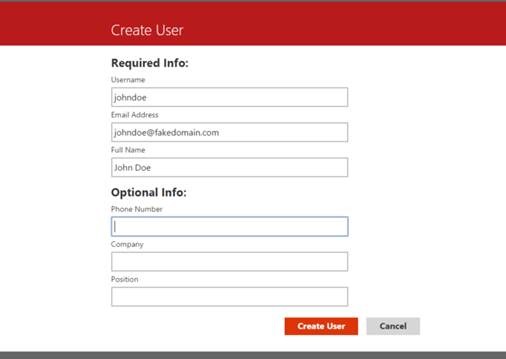
o First thing to do is to create a new user (the admin one cannot be used as Hub Owner, more on that later). Click on Create User and then enter some details for the new user.
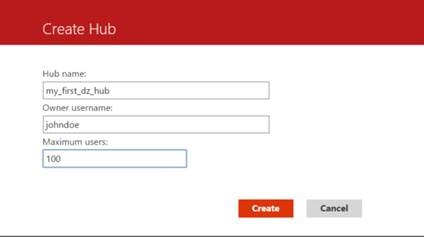
o Once the user has been created click on Create BI Hub, select a name and the user owner of the hub.
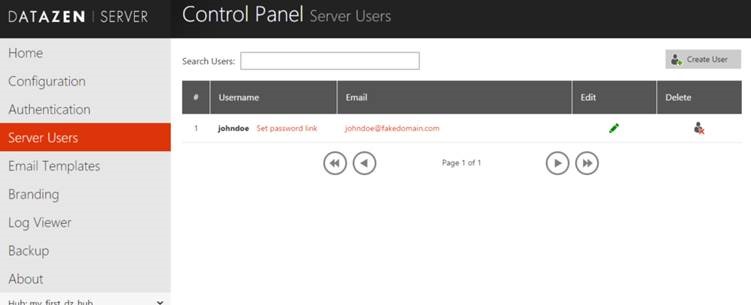
o We now need to set a password for your new user. Click on Server Users and then on Set password link. Copy the link and open it in a new browser instance, you can then select a password for your user (make sure to use a different browser or an incognito session, otherwise the system will detect your admin login).
2) CREATING A DATA SOURCE AND A DATA VIEW
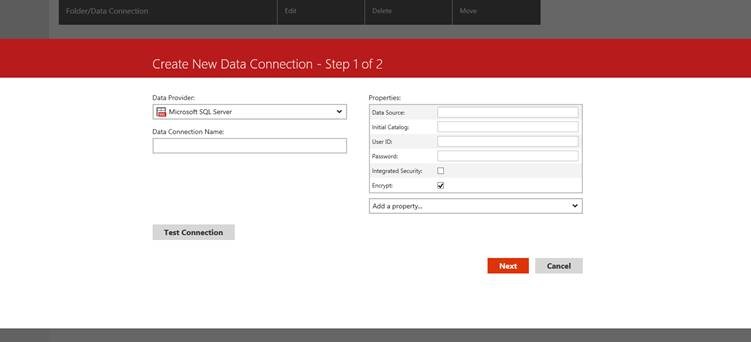
o At this point we need to create a new data source by clicking on DATA SOURCES and then on New Data Connection.
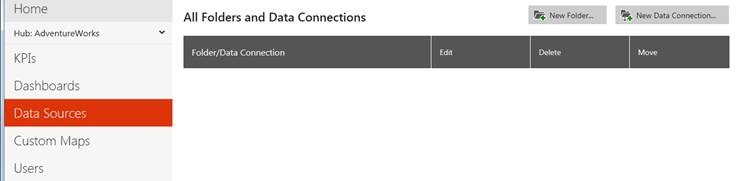
Enter the details of your data connection. In my case an Azure MS SQL SERVER. After clicking Next Datazen will ask which users can utilize this connection. For the scope of this example I selected “everyone”.
3) CREATING A DATA VIEW
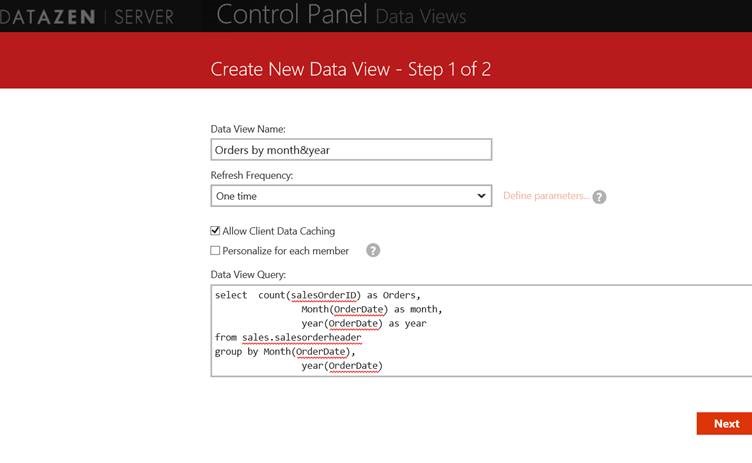
We now have a working connection to a data source (in this case an SQL SERVER), we need to add a data view, which is an SQL statement that returns the data to be displayed in the dashboard.
o Click on the newly created data source and then click on New Data View. A window will open in which we’ll enter a name for our view and the relative SQL statement. We don’t need to schedule this query to run more than once or to set up any special feature for our users, so leave the default settings.
o Clicking on next will run the query and produce an output table

4) CREATING A DASHBOARD
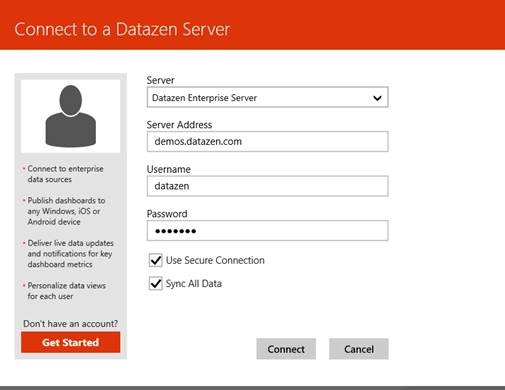
To create a new dashboard we need DATAZEN PUBLISHER, this is an app that can be downloaded from the Windows Store. Once the app is installed, launch it and enter your DATAZEN server details.
o After a connection to Datazen server is established right click anywhere in the app, this will make a black bar appear at the bottom of the screen. Click on Create and then on Start with an empty dashboard.

o We are now presented with an empty canvas. On the left hand side we can find all the elements to create a dashboard. Select Time Navigator and drop it in one of the empty boxes on the right.
Datazen is smart enough to connect to the data view we created earlier on.
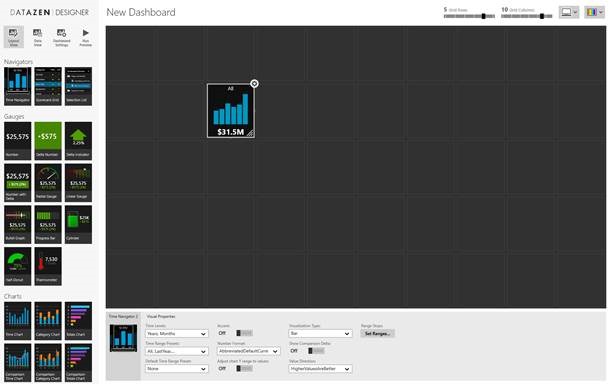
o Drag the box so that it covers 7 squares, this way we’ll have a preloaded set of charts. Other settings can be found at the bottom of the screen.
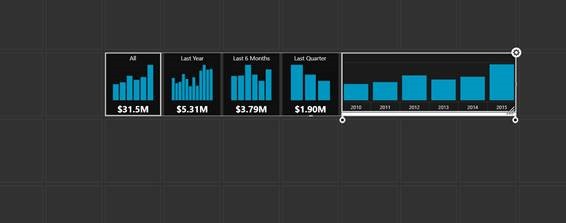
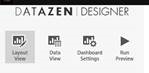
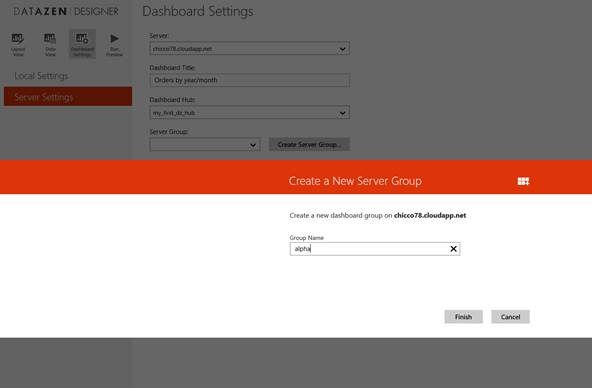
o We can now preview what the dashboard will look like by clicking on the Run Preview button on the top left hand side corner. Once we checked the preview click on Dashboard settings
o Enter a name for the dashboard and chose settings that are local for your country.
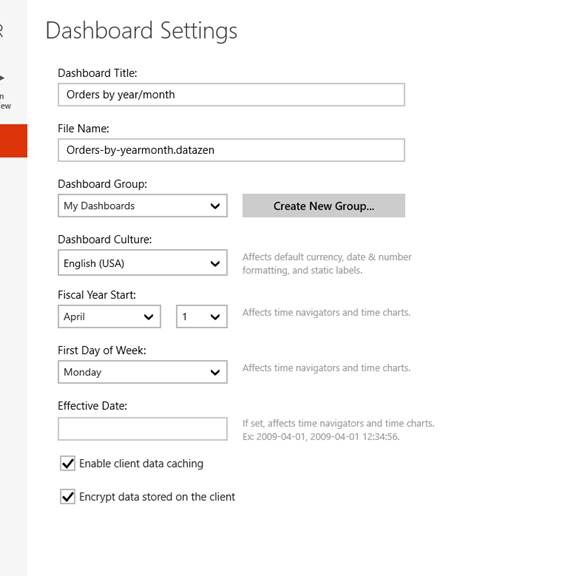
o Click on Server settings and then on Create Server Group. (choose a name)
o All we have to do now is publish the newly created dashboard. Right click on an empty part of Datazen window and click on Publish.

5) ACCESSING THE NEWLY CREATED DASHBOARD
Point your browser to the Datazen server (localhost or your cloud service name), enter the username and password (either admin or the user we created earlier on).
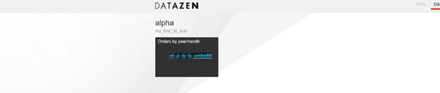
In a few steps we have a fully functional dashboard that can be accessed through the internet.


This post is really a nice one it assists new net
users, who are wishing for blogging.