Data Lake Analytics is the querying engine that sits on top of the Azure Data Lake (ADL) Storage layer. If you have not yet got to grips with ADL Store, I’d suggest you go through my quick introduction here.
Azure’s Data Lake Analytics has developed from internal languages used within Microsoft – namely ‘SCOPE’. It is evolved from Apache YARN which, in turn, is a reimplementation of their original Apache MadReduce language. For a little light reading around the history of ADL, I’d suggest looking at the ADL Analytics Overview here.
The new language introduced by ADL Analytics, mysteriously named U-SQL, brings .NET functionality and data types to a SQL syntax. You declare variables as strings, not varchars, but frame your code in SELECT, FROM and WHERE clauses. The extensibility of the code is huge as a result – you can easily write your own C# methods and call them within your select statements. It’s this unification of SQL and .NET that supposedly gives U-SQL its name. The familiarity of code on both sides should open this up to Database and Application developers alike.
Setting up your Data Lake Analytics Account
Assuming you have already set up an ADL Store, setting up your own Analytics service is just as easy.
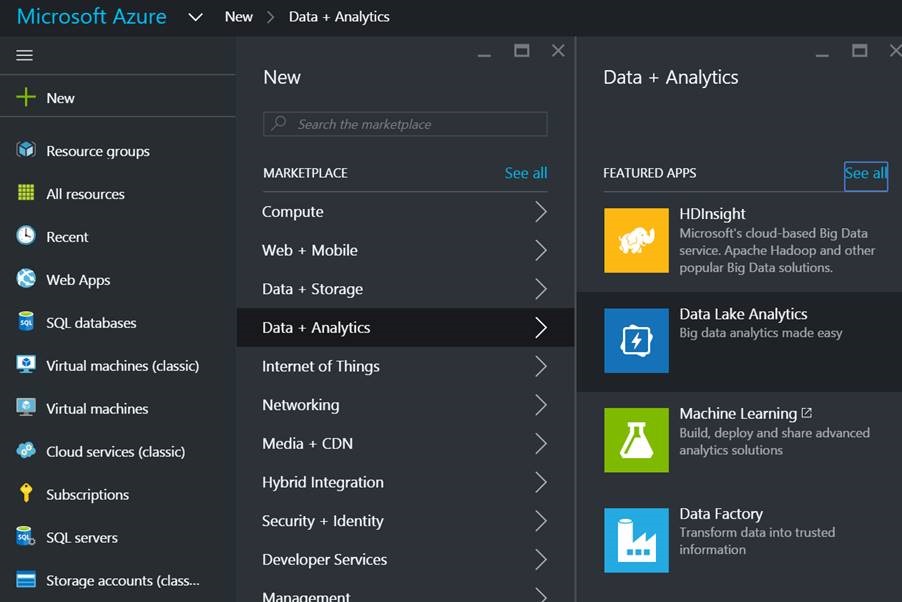
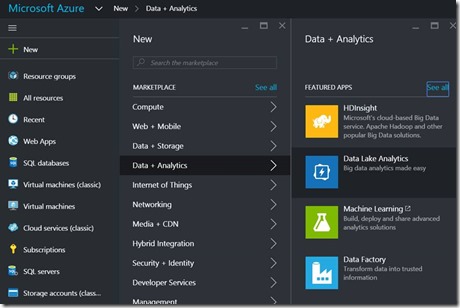
First, go through New > Data & Analytics > Data Lake Analytics:
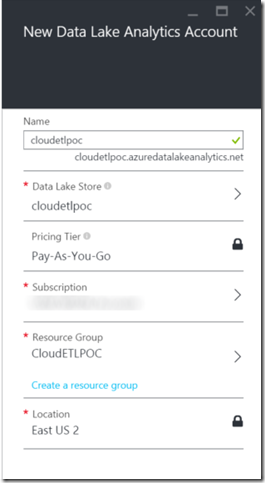
You’ll get the usual new item configuration screen, simply pop in your details and link it to your ADL Store account.
A few minutes later, you’ll be ready to go with your Analytics service.
To start with, we’ll write a very basic U-SQL Job through the Azure Preview Portal. This way, you can start performing large transformations on your files without the need to download any extensions, updates etc. You don’t even need a copy of Visual Studio! However, as you formalise your system and begin to rely on it as your primary datasource, you’ll definitely want to be keeping your code as source-controlled solutions and making use of the various capacity management tools Microsoft have recently released for managing your Data Lake projects.
Download Sample Data
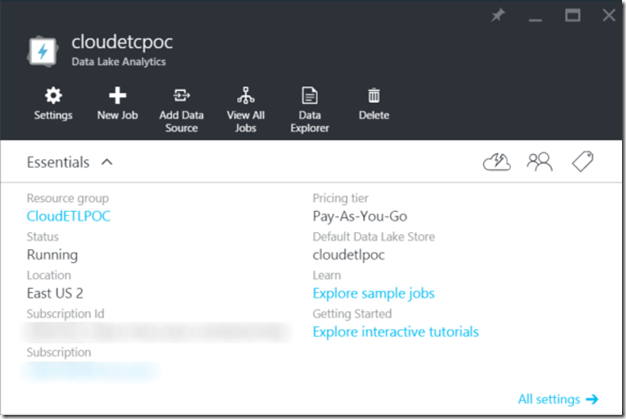
Back in the Azure Preview Portal, when we open up our new ADL Analytics account we see the familiar overview blade:
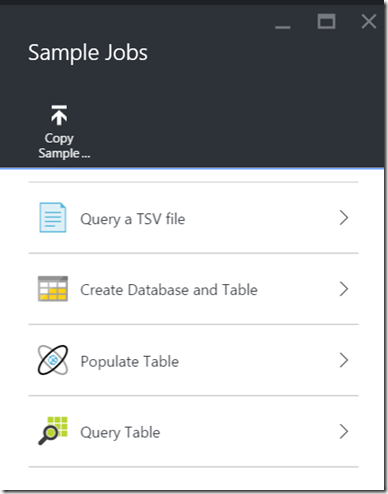
There’s a decent overview of the U-SQL language here, along with several sample jobs provided through the “Explore Sample Jobs” link on the overview blade. If you follow the samples link, you’ll see a couple of options on a new blade.
For now, click the “Copy Sample Data” button at the top. This will populate your data lake store with the sample files used by the provided examples. I’ll walk through some more advanced examples over the next few posts, but let’s simply try and access some data first. The first example uses SearchLog.tsv found in /Samples/Data/ after installing the samples.
U-SQL functions by defining rowset variables and passing them between various functions. Your first rowset may be data extracted from your sample text file, this rowset is then passed to an output which writes it to an aggregate table, or another file.
Your first U-SQL Job
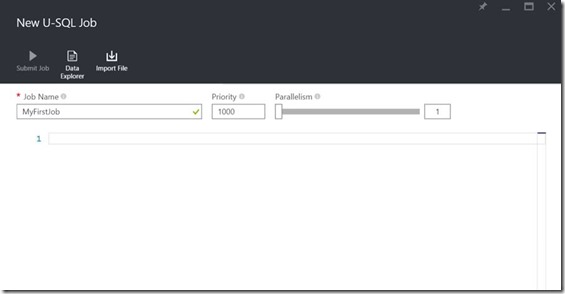
Simply click on the “New Job” icon on the ADL Analytics Overview blade to start writing your very first job.
Admittedly, this throws you in the deep end. You’re faced with a blinking cursor on line one of your script, but I’ll talk you through the structure of the first example query.
The ADL Store can contain SQL tables, as well as unstructured objects, and the syntax used varies depending on what you’re using. Tables are accessed using the traditional SELECT clause whereas for files we use EXTRACT. I’m assuming most readers will be familiar with a select statement, so let’s get an initial Extract working.
We start by defining our rowset variable, let’s call it @searchlog for now. There’s no need to declare this formally, we can just go ahead and assign the results of a query to it.
The basic structure of this query would be:
@searchlog =
EXTRACT
FROM
USING ;
The major assumption is that we will be defining schema on query – the flat files do not contain their own schema information and so we define it when writing the query.
So, to bring back some data from the “SearchLog.tsv” sample file, we need to give each column a name a data type. It appears that we need to define the whole file for now, although it seems that support for querying across variable structures is on its way – it doesn’t seem to be documented just yet.
Defining each column, we build up the EXTRACT statement to:
EXTRACT UserId int,
Start DateTime,
Region string,
Query string,
Duration int,
Urls string,
ClickedUrls string
Remember, we’re using C# datatypes so we don’t need to worry about lengths of strings etc.
Next, we define the filename. In the first example, we can use a reference to a specific file – this can be the fixed URL to the file specifically, or a relative reference within the Store itself. Our FROM statement for the SearchLog file is therefore:
FROM @"/Samples/Data/SearchLog.tsv"
Finally, we need to tell the query how to understand the particular file we’re attempting to extract data from. There are many extraction interfaces defined by default, for many of the most common flat files, so don’t worry if you prefer CSVs to TSVs, or even if you prefer to define your own delimiters.
In this case, as we’re using a TSV, we use the inbuilt Extractors.TSV() function.
Putting this all together gives us the example query:
@searchlog =
EXTRACT UserId int,
Start DateTime,
Region string,
Query string,
Duration int,
Urls string,
ClickedUrls string
FROM @"/Samples/Data/SearchLog.tsv"
USING Extractors.Tsv();
This will leave us with a rowset variable that has been populated with the columns defined from the TSV file. In SQL parlance, this is like defining a table variable and throwing it away at the end of the query.
In order to view our results, we need to output our resultset somewhere, this is where the OUTPUT clause comes into play.
A full OUTPUT statement requires:
OUTPUT
TO
USING
We know our rowset variable, that’s the @searchlog we’ve just extracted data into. We can define a new file for our location, this simply needs to be a relative path and the name of the file to be created.
Finally, as with Extractors, we need to instruct the query what function to use to output the data if we’re pushing it to a flat file. Once again, many providers are included as standard, but let’s stick with TSV for simplicity.
Our output statement therefore looks like:
OUTPUT @searchlog
TO @"/Samples/Output/SearchLog_output.tsv"
USING Outputters.Tsv();
Putting this together our full U-SQL script is:
@searchlog =
EXTRACT UserId int,
Start DateTime,
Region string,
Query string,
Duration int,
Urls string,
ClickedUrls string
FROM @"/Samples/Data/SearchLog.tsv"
USING Extractors.Tsv();
OUTPUT @searchlog
TO @"/Samples/Output/SearchLog_output.tsv"
USING Outputters.Tsv();
Now this isn’t terribly exciting. This will simply take the contents of the sample file and dump it into a new file with exactly the same structure.
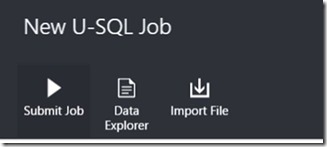
For now, click the Submit Job button to execute your job.
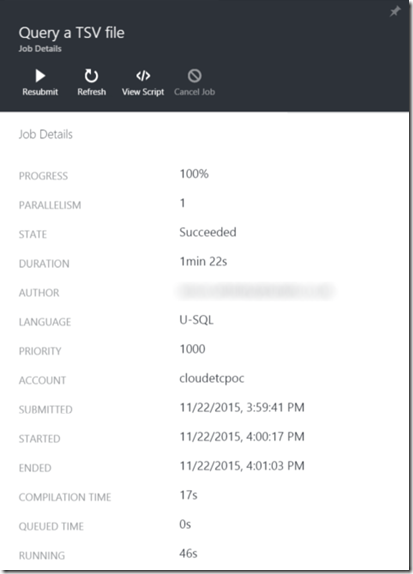
One key point here is that it will take at least a minute or two for the job to run, even if you have very little data in your files. The whole system is optimised for massive scale not lightning fast micro transactions. The real gains are running queries across hundreds or thousands of files at once, scaling to run across many Terabytes of data efficiently.
Hit refresh on the job status blade and you’ll eventually see the results of your job, hopefully succeeded.
You’ll then be able to navigate to the output file and view your results.
That’s your very first foray into writing U-SQL, and not a terribly exciting example. However, we can write additional queries in between the EXTRACT and OUTPUT steps that can add calculations, aggregations, join to additional rowsets and even apply any C# libraries that we associate. This in itself if nothing new, especially if you’ve familiar with PIG, however this can all be scaled to massive levels using a simple slider and a pay-as-you-go charge rate. We’ll come to these more advanced examples in future posts.

Pareto Charts in Power BI and the DAX behind them
The Pareto principle, commonly referred to as the 80/20 rule, is a concept of prioritisation.
Apr
Databricks: Cluster Configuration
Databricks, a cloud-based platform for data engineering, offers several tools that can be used to
Apr
AI Assistance in Microsoft Fabric
The exponential growth of Large Language Models (LLMs) couples with Microsoft’s close partnership with OpenAI
Apr
10 reasons why it’s worth the effort to understand the value of your data
“If leaders really want to create a data driven culture, the journey starts with them!
Apr
Content Safety in Azure AI Studio
Azure AI Content Safety is a solution designed to identify harmful content, whether generated by
Apr
Model Benchmarks in Azure AI Studio
In the constantly changing field of artificial intelligence (AI) and machine learning (ML), choosing the
Apr
Celebrating International Women’s Day: from Classroom to Code
As we celebrate International Women’s Day, I want to share my journey of breaking stereotypes
Mar
Pretty Power BI – Adding Pagination to Bar Charts
Good User Experience (UX) design is crucial in enabling stakeholders to maximise the insights that
Feb